
Settings
You can access the Settings menu from Live Number Testing by clicking on the gear icon:
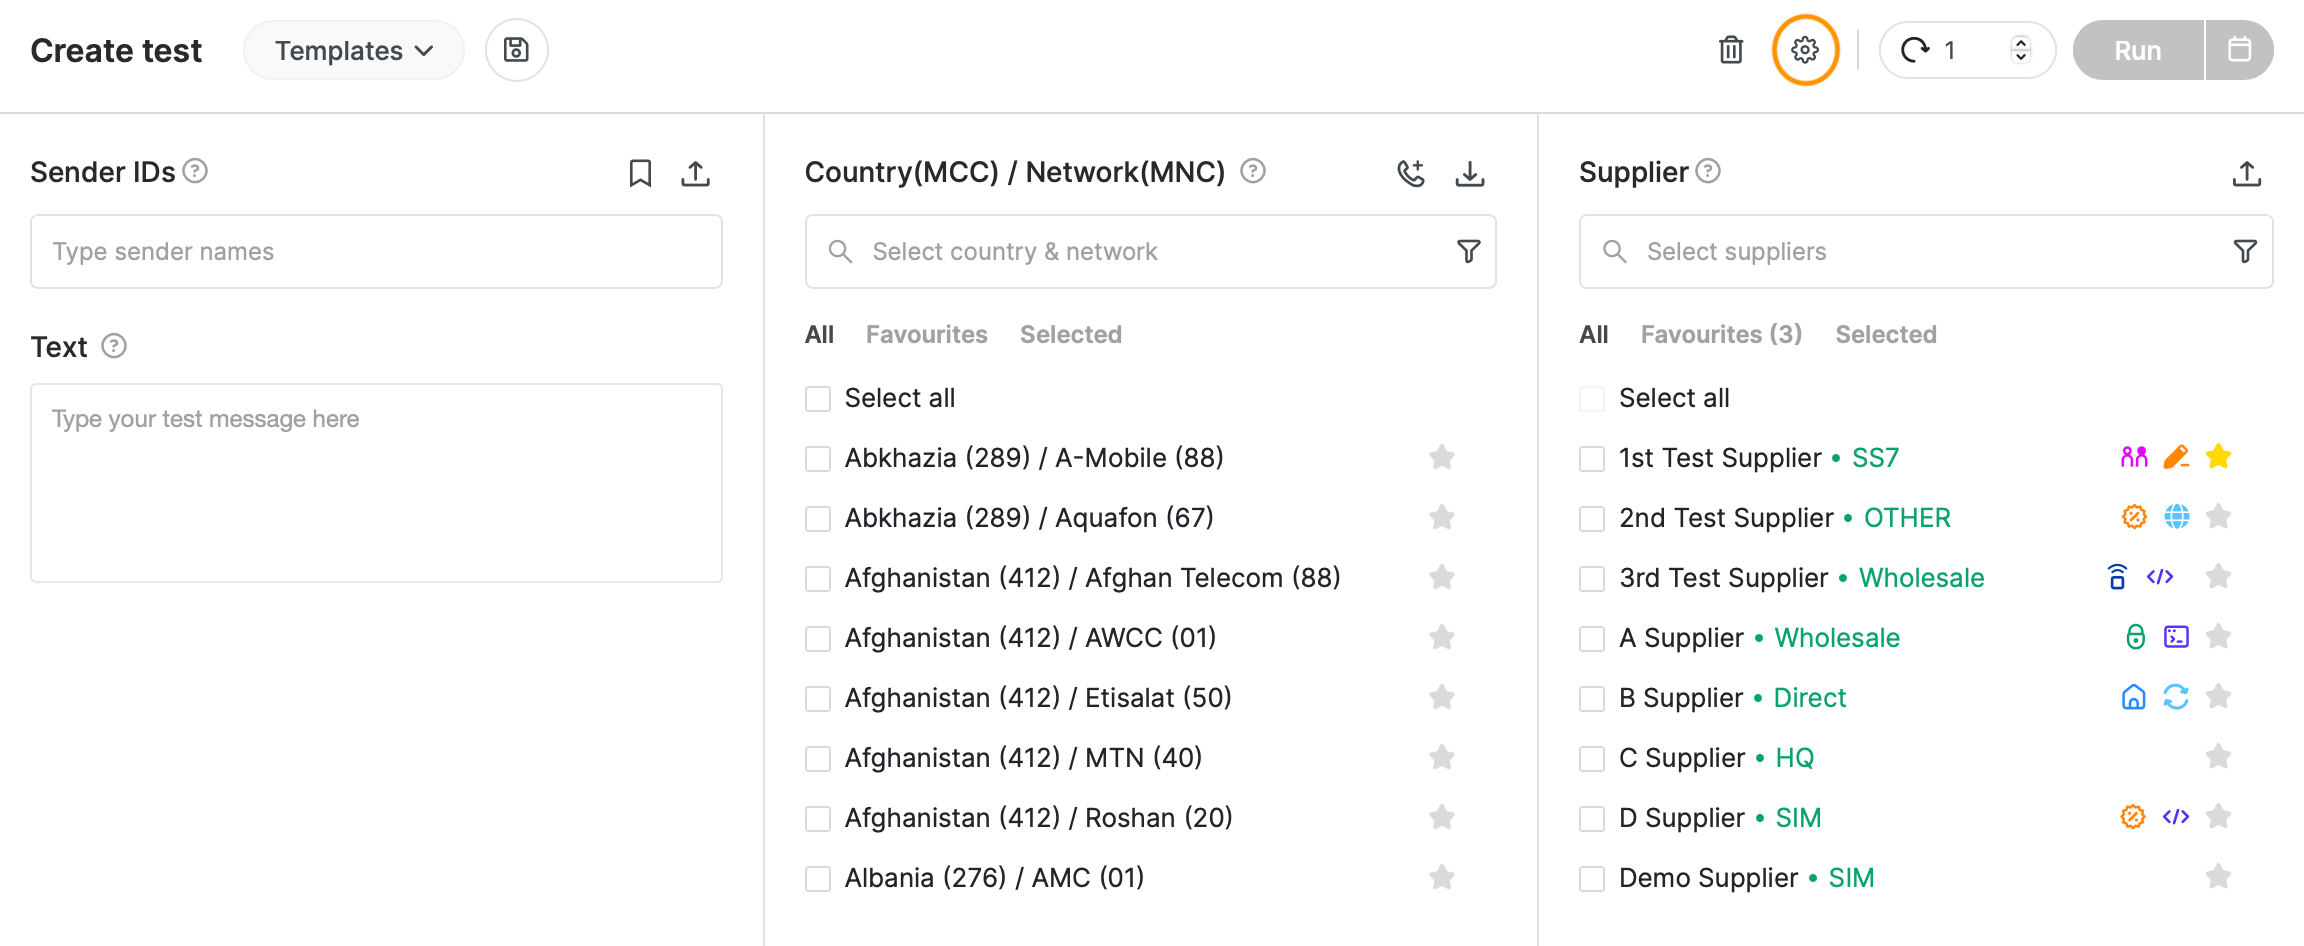
There are 5 sections that will help you configure your SMS for a specific test batch from this pop-up:
Sender ID & Content
UDH
TLV
Timing and Delivery
Comment
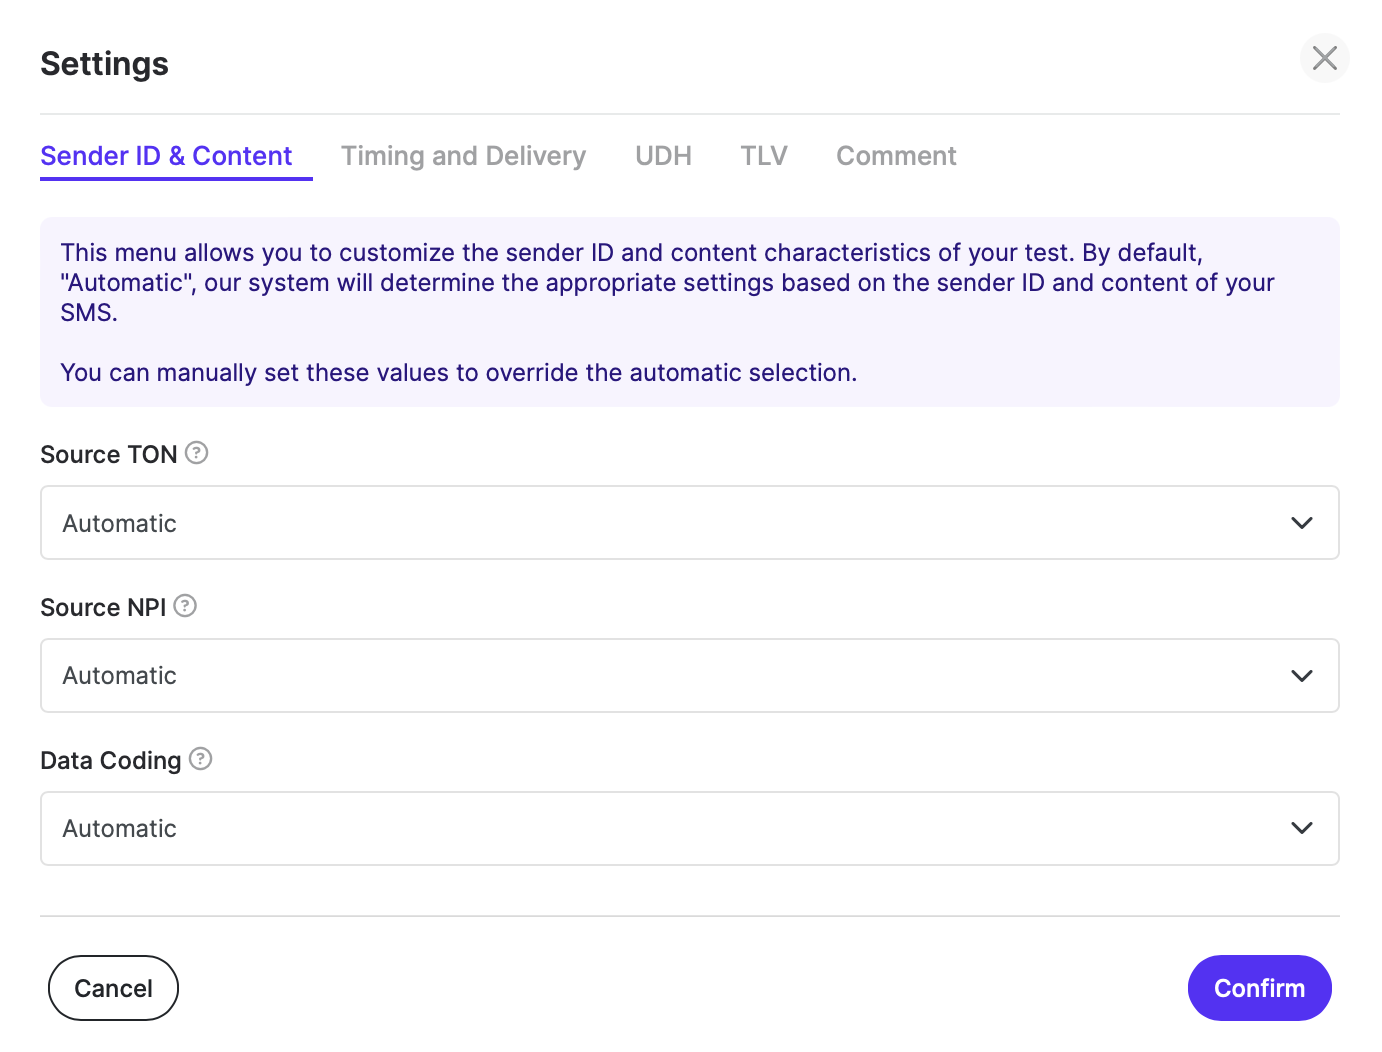
Sender ID & Content
In this section, you can define custom TON, NPI and Data coding:
Timing and Delivery
This section contains the following values:
TTL value (waiting time value)
Validity Period
Scheduled Delivery Time
Replace if Present Flag
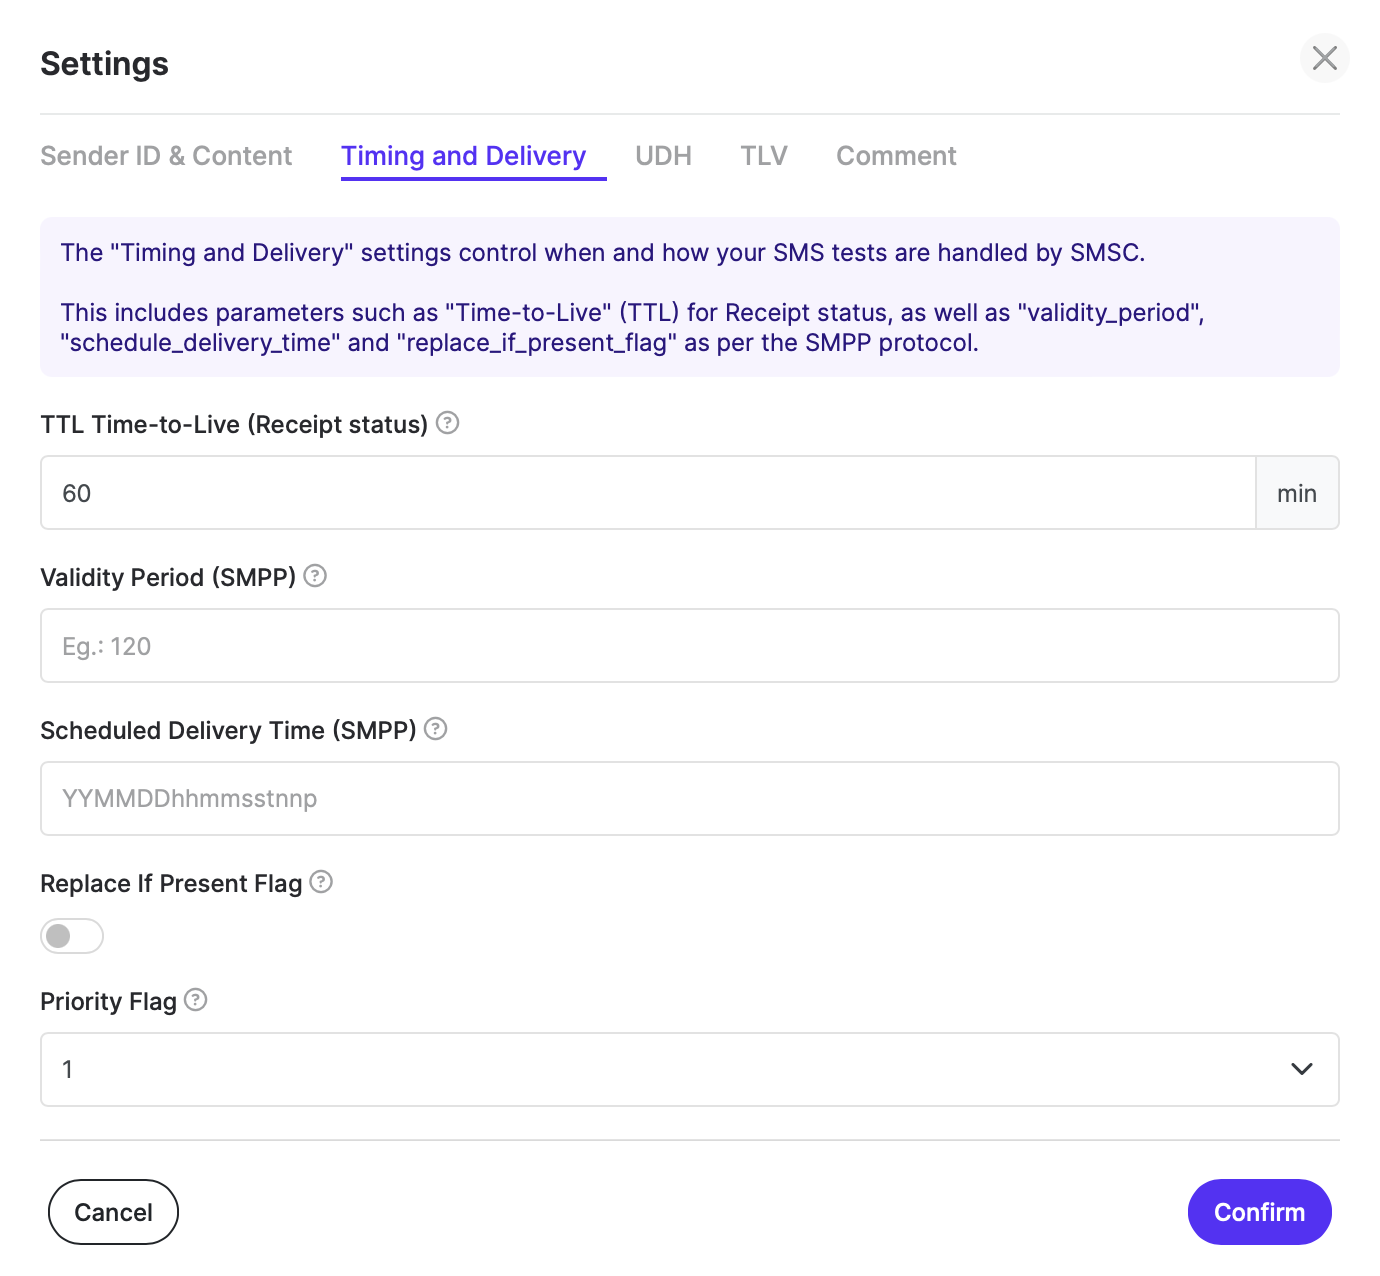
Edit the TTL value whenever you want the Final Receipt status waiting time for the current test batch to be different than the default 60 minutes (or the account’s default TTL value).
You can also set the Validity Period after which the SMS will be deleted from the SMS center and will not be forwarded to our number. Kindly note that this value is expressed in seconds. In case of usage of both validity period and TTL, validity period is suppressed and TTL is used instead.
Additionally, you can set the time when you want the message to be scheduled by the SMSC for delivery. The format should be: “YYMMDDhhmmsstnnp” (default SMPP datetime format).
YY - year (max value 37)
MM - month
DD - day
hh - hour
mm - minutes
ss - seconds
t - tenths of seconds
nn - Time difference in quarter hours between local time and UTC time (00-48).
p:
“+” Local time is in quarter hours advanced in relation to UTC time.
“-” Local time is in quarter hours retarded in relation to UTC time.
“R” Local time is relative to the current SMSC time.
Example:
230101235959904+ : Jan 01, 2023 22:59:59.9 (4x0.25h detracted from specified timestamp)
The final parameter, Replace If Present Flag, if enabled will indicate if submitted message should replace an existing message.
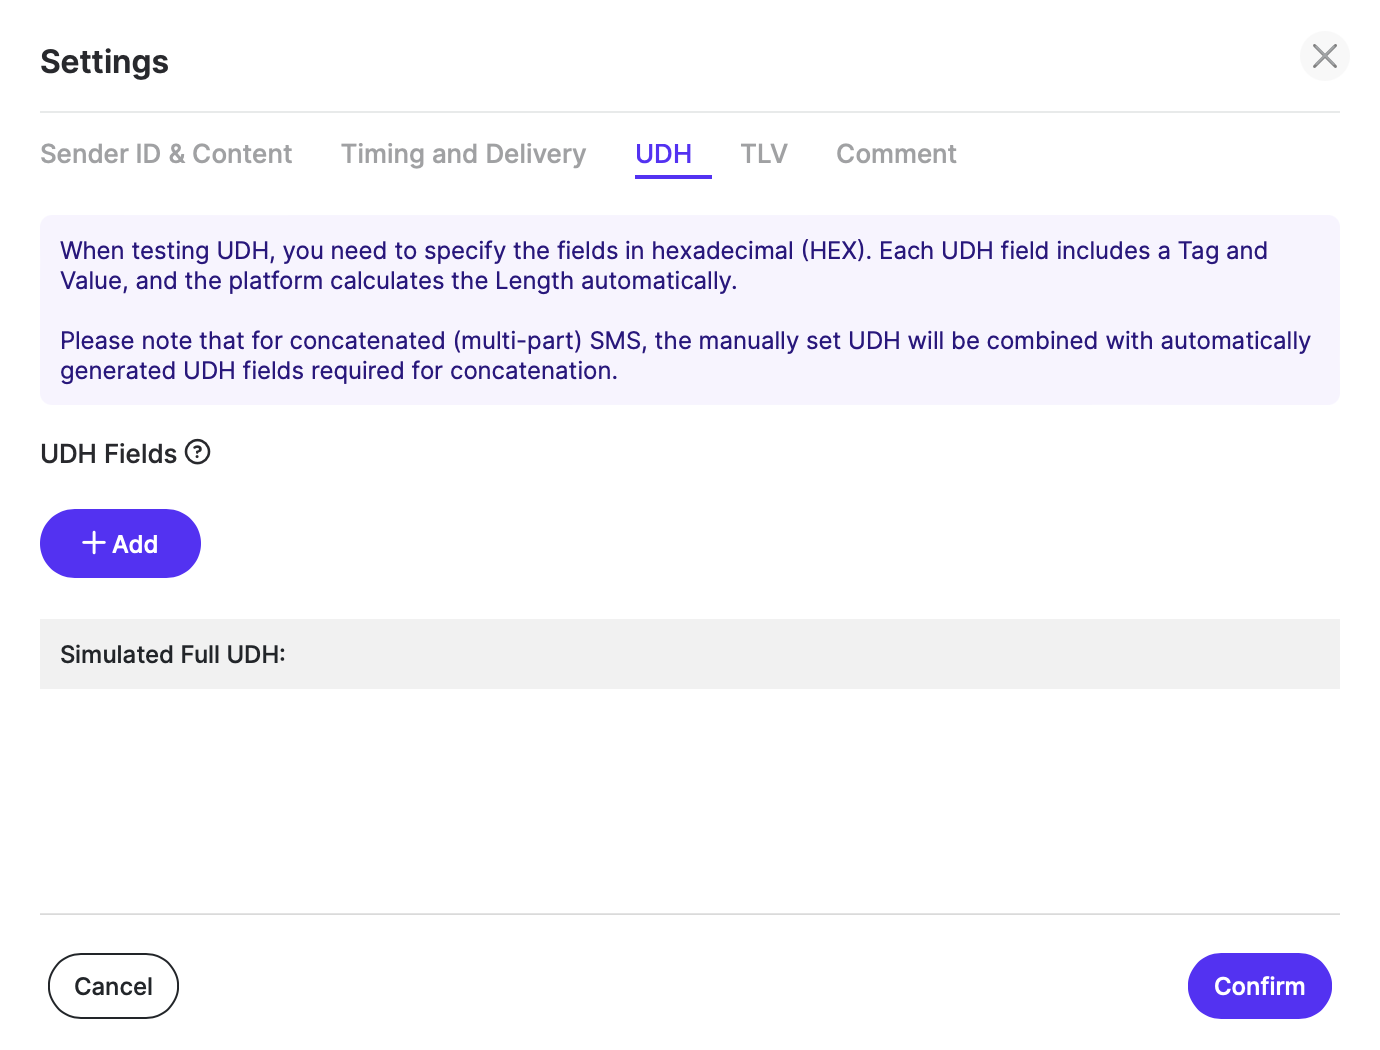
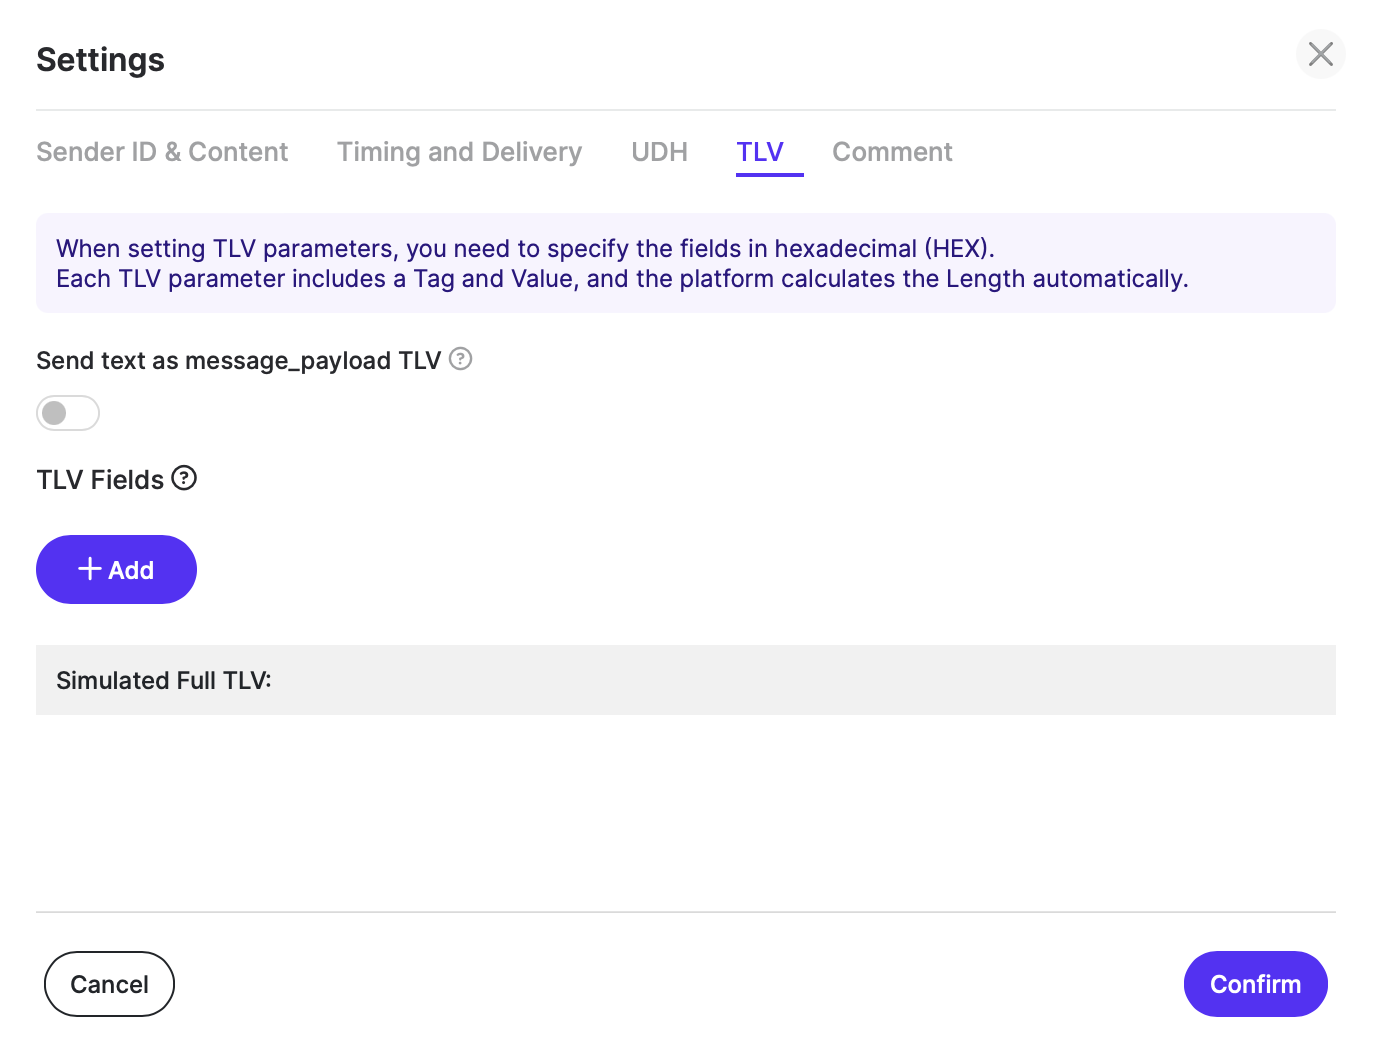
UDH and TLV
From these 2 sections you can set up custom UDH and TLV values for a specific test batch. If you want to set these on supplier level, please refer to our Suppliers section.
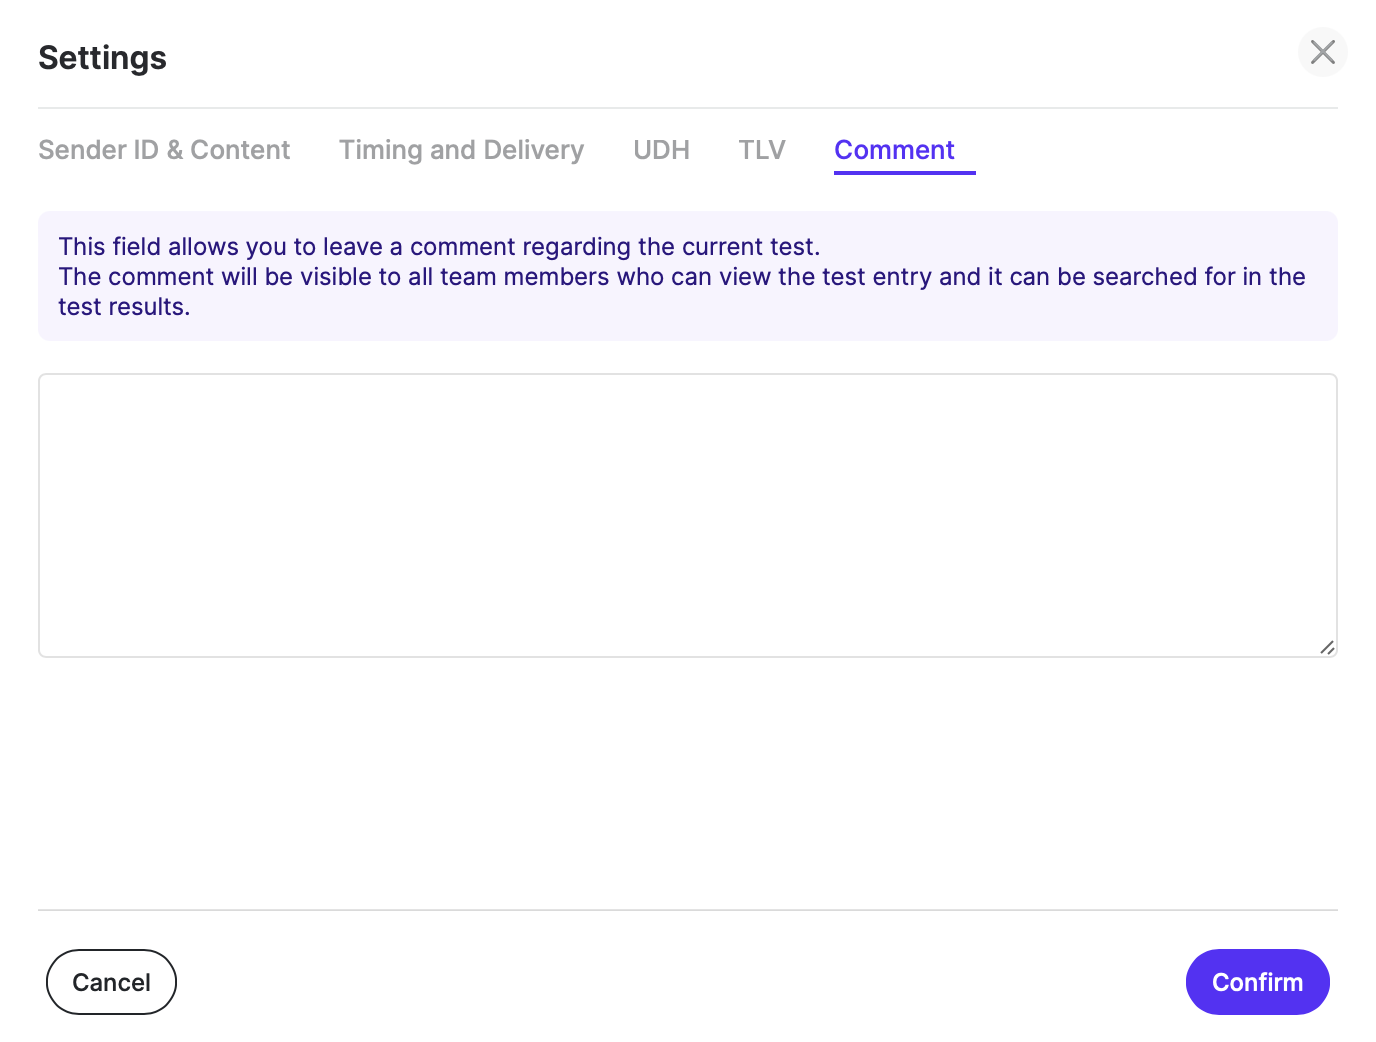
Comment
You will have the option to leave a comment before your test is issued by using the Comment section as shown in the screenshot below. It will be visible to all team members who see the test entry. Please note that the comment will not be editable once submitted.
Once you enter your custom settings, a purple dot will indicate this.
